
In a Summer edition of Inland 360, I did a picture tutorial on how to plant potted flowers and greenery together for maximum effect. Now it’s cold, flowers outside are few and far between, and you might find yourself wanting some color inside. You’re in luck.
I recently took a workshop with Saria A. Dy, a floral designer at Notary Ceramics in Portland with more than 10,000 followers on Instagram ( @rueanafel ). She creates incredible, natural arrangements. Let me tell you how I arranged flowers and greenery before taking this class: I unwrapped them from the plastic, cut the bottoms, filled a vase with water and plopped them in. I plopped them. Thank the flower gods for Saria because I learned a few things:
1. Forage. Saria finds elements for her arrangements in her yard, at the park, in the forest, growing in the sidewalks, really anywhere. She cuts branches, uses dead pieces, weeds, flowers and grasses. After she forages, she fills in with flowers from the market.
2. Use green foam that can be found at any craft store and stick it in the middle of your arrangement vessel.
3. Picture your arrangement as a triangle with the tallest point in the middle and two longer points on each side.
4. Create a “belly button.” This will be the flower or piece from which all things center or flow. It should be relatively low in the vase or bowl.
5. Saria’s pieces mimic nature and I highly recommend going that route – her masterpieces are amazing. Have your individual greens and flowers facing all different directions at all different heights. It shouldn’t be a perfect pattern. For example, if you put a cluster of roses on the right third of your arrangement, it doesn’t need to be in the other two as well. Keep it simple.
6. A beautiful centerpiece takes more plants and flowers than you might expect. Remember that you don’t want to be able to see the green foam at all, so you’ll need to fill all the gaps, and if you have small or thin greens and flowers, it will take a lot.
7. While you don’t want gaps you’re able to see through, Saria recommends imagining a bird flying through the tops of each element, kind of wandering through your arrangement. Keep it airy.
8. When you’re finished with one side, turn it around and do the back – don’t forget the back. You want to create a well-rounded piece that can be enjoyed from any seat around the table.
9. Keep water in your vase or bowl and your arrangement should last for quite some time.
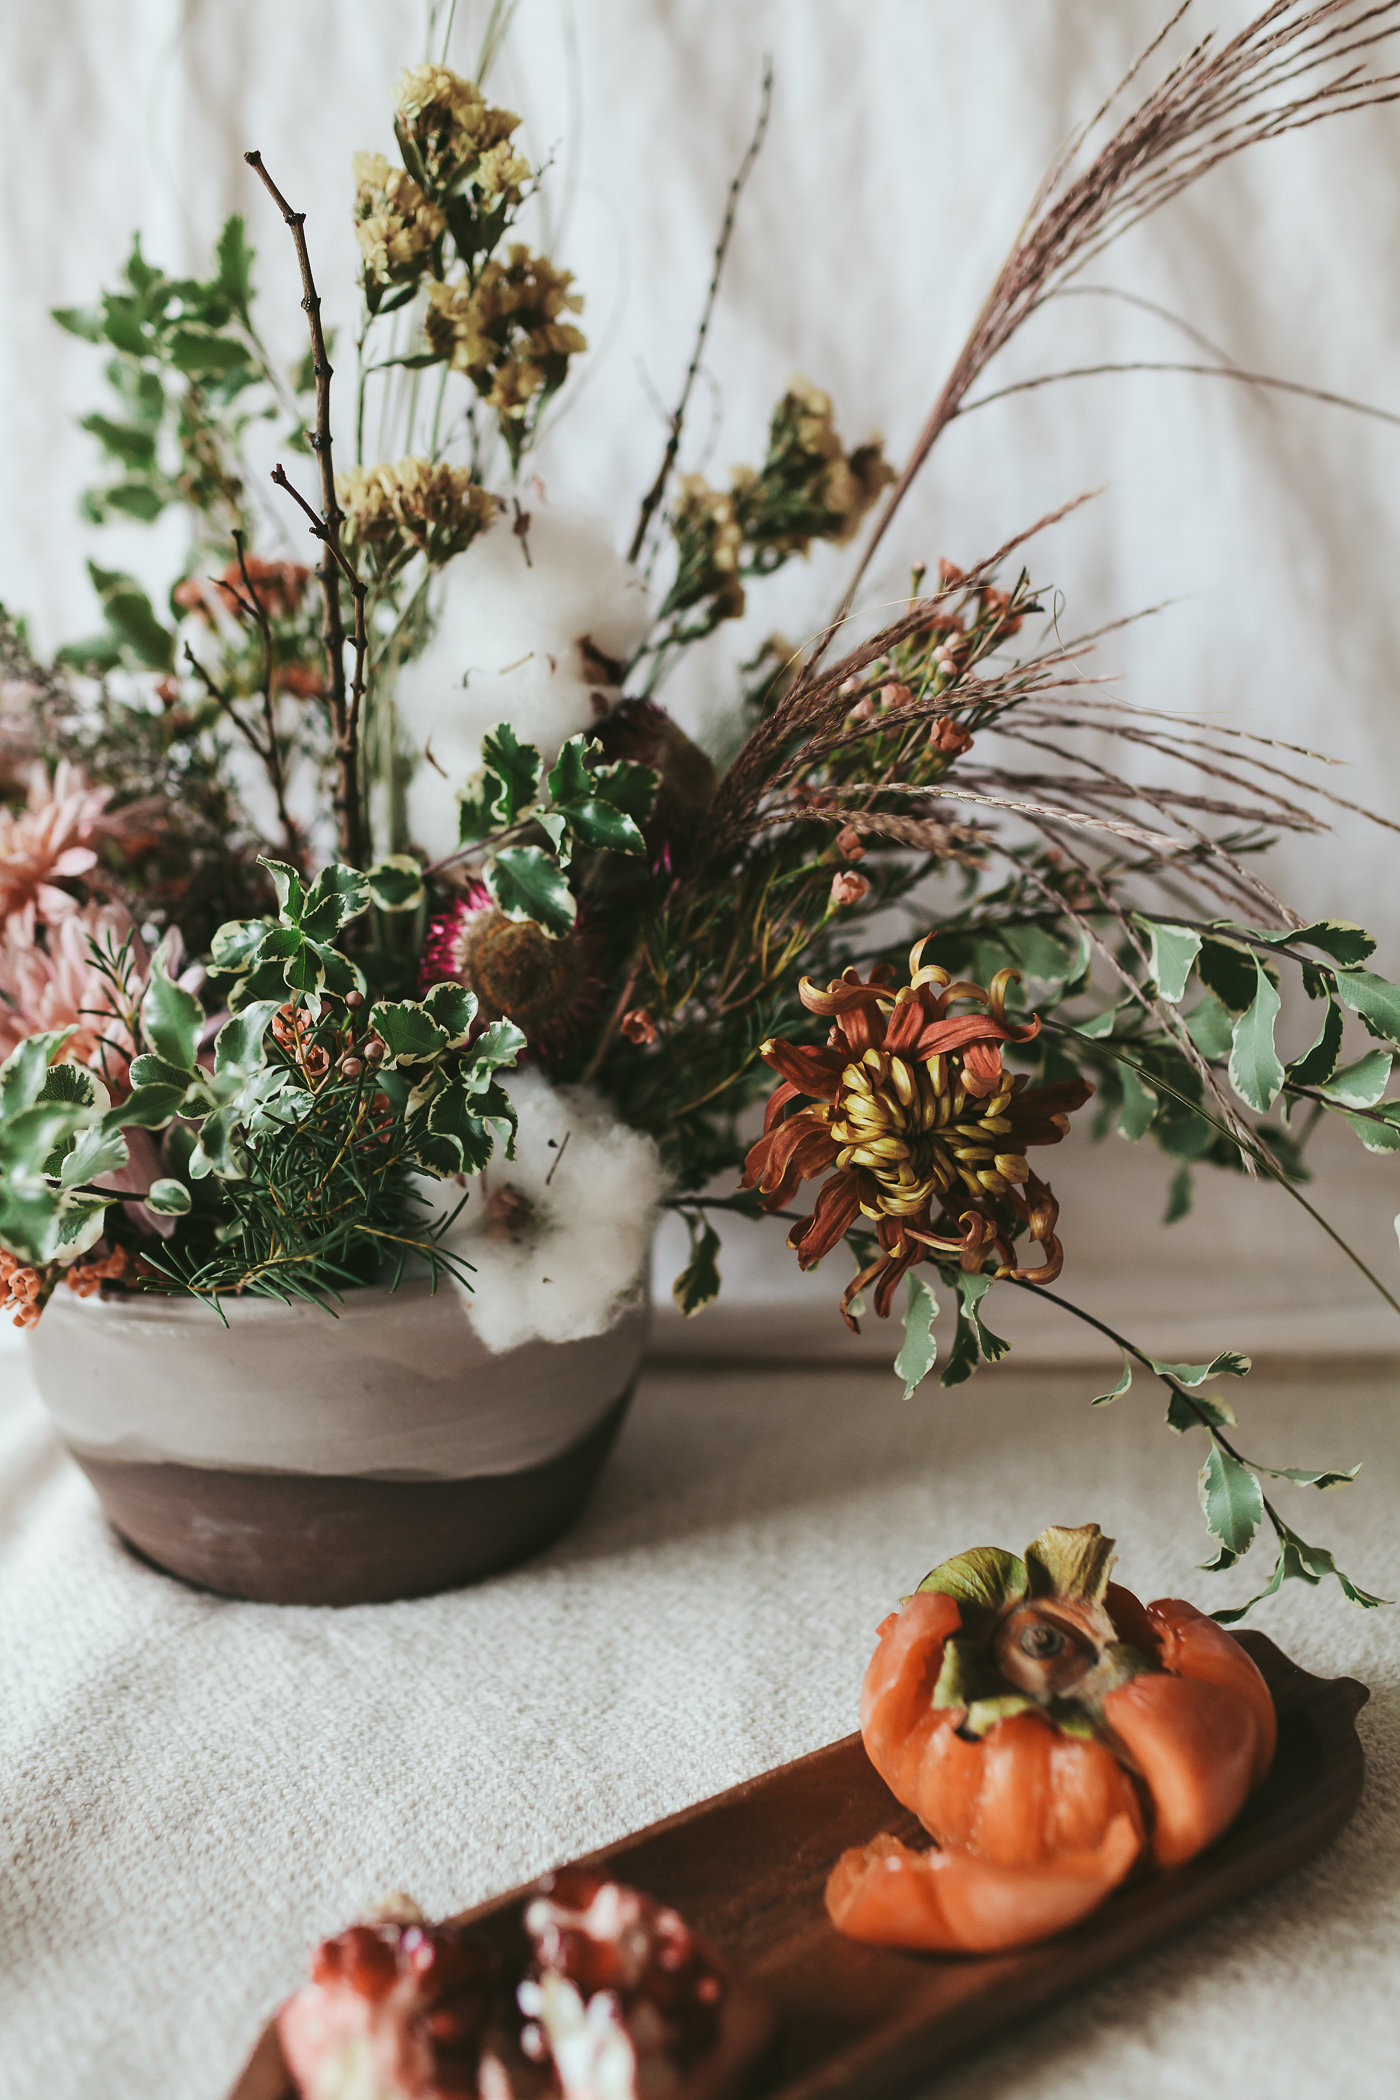
Look at the one I created. I am very, very far from a floral artist, yet my piece looks put-together and well done because I followed the very easy guidelines Saria lined out. It took me about an hour to complete from start to finish and it lasted two weeks. When my fresh elements died or withered, I replaced them with new ones and left the dried flowers in place. Perfection.
Prasil is a Lewiston native living in Portland, Ore., with her husband and six children. She survives on spontaneous outings, good food, happy hour and early bedtimes. She can be reached via email at ruthieprasil@gmail.com.


